A few weekends ago, my mom and I hosted a baby shower for my sister-in-law. We squeezed it in just in time because a week later, my sister-in-law went into labor...4 weeks early. Welcome to the world beautiful Bailey!! Although she's teeny, she's happy & heathy which is all that matters.

Months before the shower, my mom & I quickly decided on the "cute as a button" theme. I've always loved that theme and I even almost did it for Deaglan's first birthday. Some of my brother's friends nicknamed him Buttons years ago, so we figured it would be a fun spin off of his name, too. It was the little details & touches that my mom and I enjoyed planning to make it a special day for Kristi. Here were all of my favorite parts:
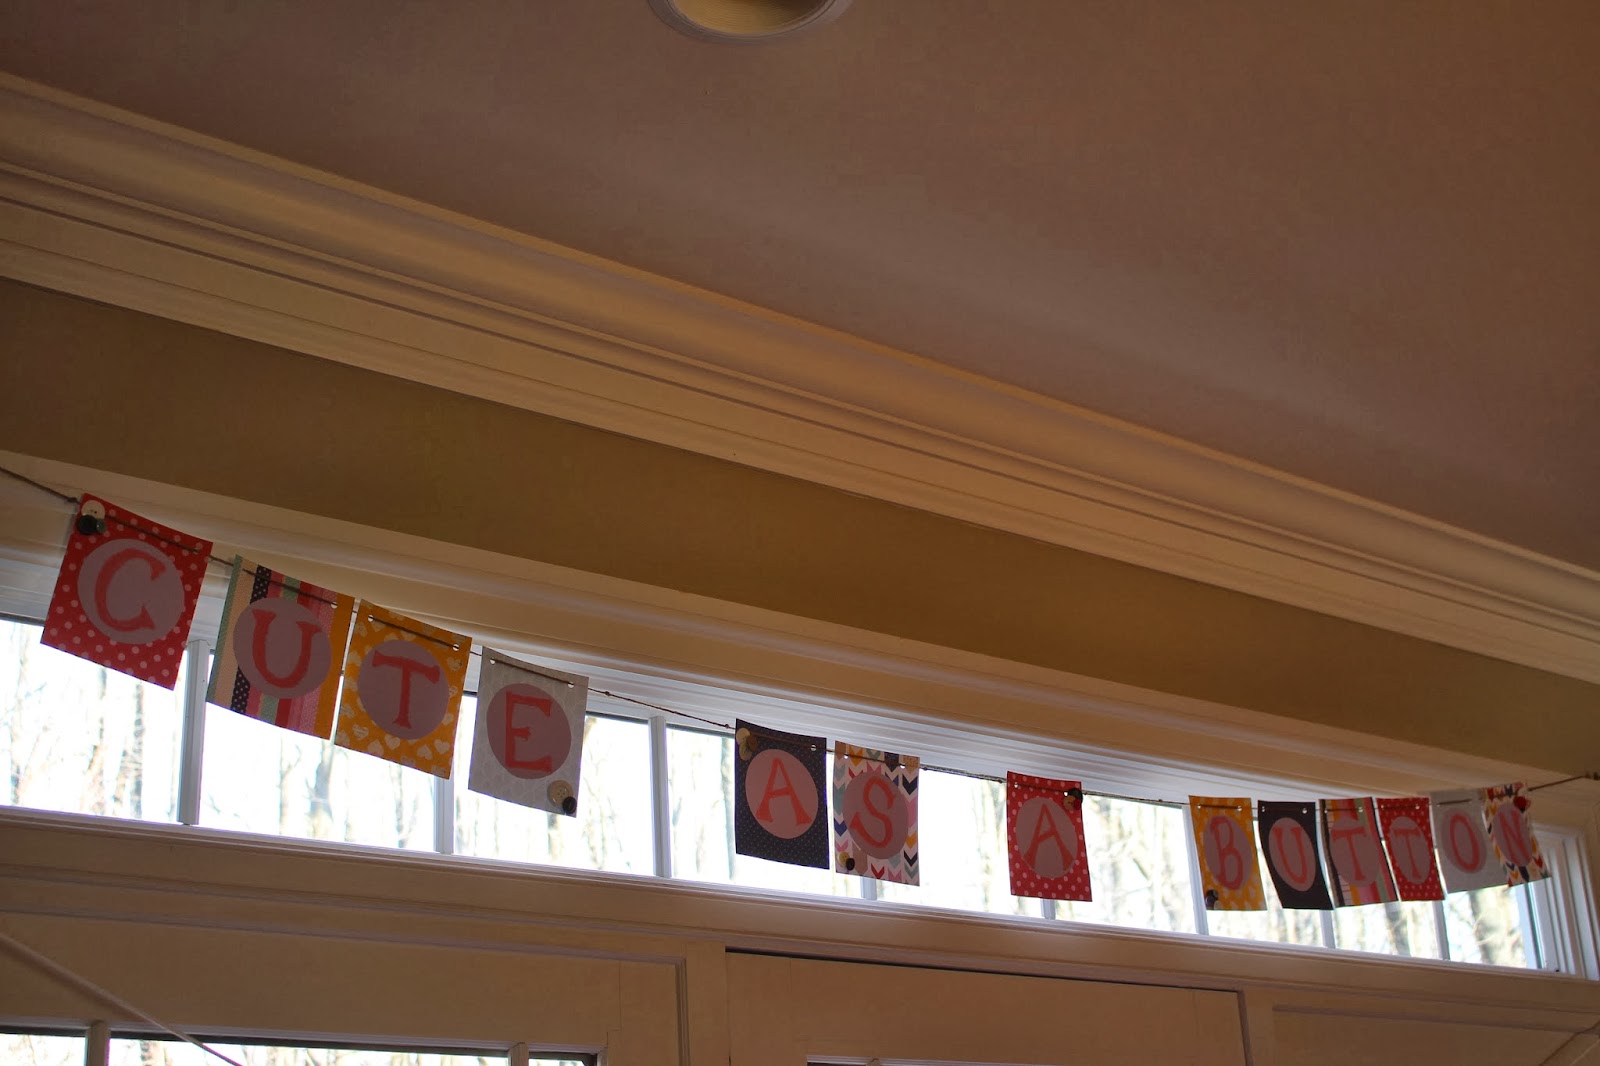
I was in charge of decorations. I knew I wanted to make a banner that read, "cute as a button" and I also wanted to piece together garland that could be used throughout the rooms. I immediately went to my scrapbook paper left over from my old window project and bought colored card stock.
I cut large squares and circles for the banner. Then I used wet chalk to write the letters. I glued little buttons on the corner of some of the squares to add a little more detail. I strung it together with twine. All of the pictures of the actual banner hanging up turned out really dark. It looked cute even though it's hard to read!
At first, when I sat down to make the garland, I had a small bowl and a pencil, and I was going to trace circles all over the page. I knew cutting them out would be a nightmare. Luckily, I got distracted and didn't get to it that night. The next day, I went to JoAnn Frabric's to buy buttons and found a large hole punch. I didn't even know they existed! Pure awesome-sauce. I also bought a 1.8 diameter regular hole punch for the holes in the paper button.
I punched two holes and strung together with thin, white string.
I hung garland on the mantel.
Strung some from the ceiling above the chair where Kristi sat to open gifts. To break it up, I also hung a few paper plates made into buttons with a black crayon. Crayons always make me feel like a kid again!
I wish I had time to punch four holes in the paper buttons that were tossed for decoration.
As a gift and decoration, I designed the letter "B" out of buttons. I found a bag of white buttons at Jo Ann's and I purchased a shadow box from Michaels that had three different depths, which was helpful because I ended up making it thicker than I had originally planned. I laid the buttons out on scrapbook paper and started hot gluing away! In my hodgepodge of random buttons from my classroom, I found a black flower button and glued a pink button in the middle. Bailey's nursery has the cutest black/pink/white giraffe theme bedding from Pottery Barn. Hopefully this will compliment the decor in her room!
One last small detail we crafted were the labels for food. My mom printed simple labels and cut them with squiggly scissors. Once again, another item that makes me feel like a kid again! We glued buttons on the corner and then taped it to a spool of thread. We propped them next to each item! So simple.
Since my mom and I have craftiness in our blood, we couldn't let the shower go on without making everyone there have some craft-time. We set up a onesie station. I cut washable fabric into various shapes and designs (traced cookie cutters) and also laid out ric rac ribbon, markers, and fabric glue.
We only purchased 12 onesies, so we needed people to try to work with partners. So my mom created this sign...
We also bought a variety of sizes, so Bailey can wear these cute onesies this time next year!
For dessert, we wanted smaller, finger-y food options. Who doesn't like to try a little bite of everything? We kept with our pink theme for the sweets!
I wanted to make shirley temple cupcakes because Kristi loves shirley temples. I found the recipe here. If you like cherries, you will definitely enjoy them! I omitted the almond extract but they still tasted great! I doubled the recipe and made around 16 large cupcakes and 24 miniature. This was the first time I piped…quite enjoyable!!
I also baked button sugar cookies. I used my go-to recipe that everyone always asks me for! I use the Ann Clark sugar cookie recipe and glaze recipe. Her cookie cutter shapes are my favorite but for these cookies, I just used a biscuit cutter. I poked holes with a paint brush tip but after I decided to frost the cookies, the holes were kind of pointless. If I omitted the pink frosting, you would've been able to see them.
My mom purchased a pound cake, cut it into squares, & dipped it in sugar to create petite fours.
She also made a frosted graham cracker bark. She melted dark chocolate and poured white chocolate overtop. Then she placed the crackers & sprinkles. After it set, she broke it into crumbles. Yummy and different!
As I end this long post, I will end with our favors. My mom found a button chocolate mold at a local bakery store. She patiently melted chocolate and set them in the molds. My brother created the tags and my dad thought of the "baby buttons" slogan. We displayed them by the door (in hopes people wouldn't leave without one) in my parents antique high chair.
Now, Bailey will always be our little button.


